 how-to
Siding Flashing Installation: A Step-by-Step Water Barrier Guide
Last Updated: November 6, 2026
Quick Summary
Proper siding flashing installation means matching each flashing type to its opening, then layering it shingle-fashion so water always runs over the piece below. Install Z flashing level with the upper leg behind the weather-resistive barrier and the lower leg over the siding, fastening the top leg only and overlapping pieces at least 2 inches.
- Z flashing goes above windows, doors, and the bottom edge of each wall section.
- Step flashing is woven with shingles at roof-to-wall intersections.
- Fasten Z flashing through the upper leg only, never the lower leg.
- Overlap each flashing piece at least 2 inches in the direction water runs.
- Keep the siding bottom a half inch above the flashing to prevent wicking.
Table of Contents
- Siding Flashing Types and Where Each One Goes
- How to Install Z Flashing Under Siding
- Flashing for Siding Bottom and Foundation Transitions
- How to Install Z Flashing Over a Window
- Frequently Asked Questions
Siding Flashing Types and Where Each One Goes
Siding flashing is the thin metal or membrane layer that directs water away from your walls before it can soak into the sheathing. It is one of the most important details in any siding job. Get it wrong and the rot starts behind the wall where you cannot see it.
The main types and their jobs:
- Z flashing: the workhorse piece, shaped like a shallow "Z." It sits above windows, doors, and the bottom edge of each wall section.
- Step flashing: small L-shaped pieces that step down a roof-to-wall intersection, woven with the shingles.
- Kick-out flashing: a small diverter at the bottom of a roof-to-wall run that throws water clear of the wall.
- Drip cap: a simple angled piece along the top of a wall or window head that sheds water outward.
- Self-adhered membrane: flexible peel-and-stick tape for sealing window and door flanges.
Each one handles a specific opening. Using the wrong profile in the wrong spot leaves a gap water will find.
Each flashing type handles a specific opening, so match the profile to the spot.
Flashing type | Where it goes |
|---|---|
Z flashing | Above windows, doors, and bottom edge of each wall section |
Step flashing | Roof-to-wall intersection, woven with the shingles |
Kick-out flashing | Bottom of a roof-to-wall run, throws water clear |
Drip cap | Top of a wall or window head |
Self-adhered membrane | Sealing window and door flanges |
How to Install Z Flashing Under Siding
Z flashing under siding is the horizontal piece that catches water running down the wall and pushes it out over the course below. Install it level, with the upper leg tucked behind the weather-resistive barrier and the lower leg lapping over the siding below.
- Cut the Z flashing to length, plus a little extra for overlap.
- Slide the top leg up behind the house wrap.
- Set the lower leg over the top edge of the siding course below.
- Fasten through the upper leg only, so the piece can still shed water.
- Overlap each piece by at least 2 inches in the direction water runs.
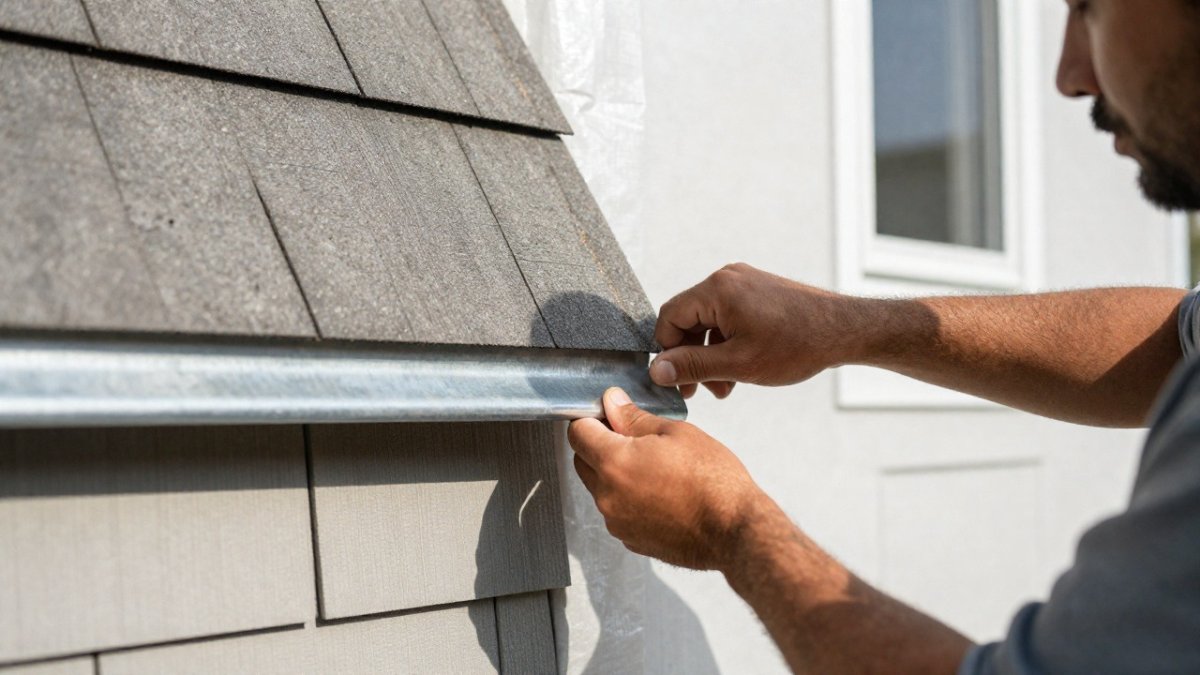
Watch out: fastening through the lower leg pins the flashing tight to the wall and stops it shedding water. Fasten the top leg only.
Flashing for Siding Bottom and Foundation Transitions
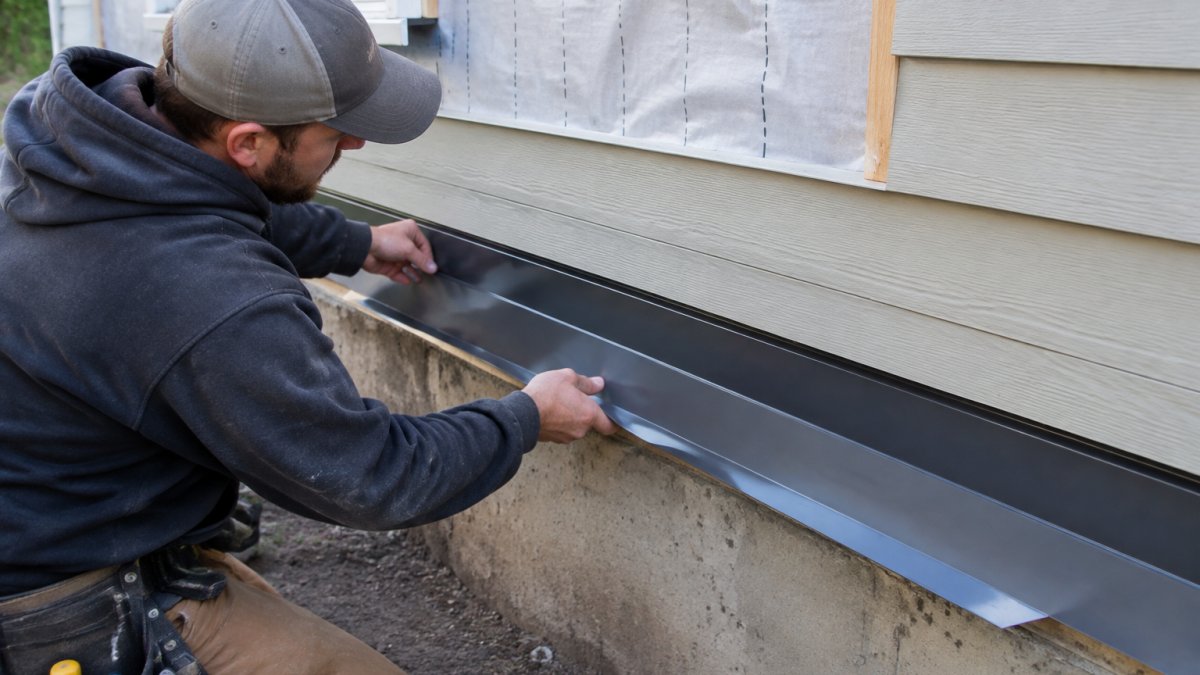
The bottom of the exterior wall is where splash-back and groundwater do the most damage. Flashing at the base of siding should sit above the concrete or slab with a clear gap, so water drains out and air can dry the wall.
Run a continuous piece along the base of the wall. Keep the bottom edge of the siding a half inch above the flashing so water never wicks up into the board. At a slab or foundation, the flashing laps over the top of the concrete and turns water outward. Seal the joint with a compatible sealant, not a smear of caulk over the siding.
Where siding meets concrete, keep the same rule: metal first, siding second, and a gap between siding and the ground.
How to Install Z Flashing Over a Window
Z flashing over a window is the cap that sends water around the opening instead of behind the trim. Fit it above the window head, tuck the top leg behind the weather-resistive barrier, and lap the lower leg over the window flange and trim.
- Seal the window flange with self-adhered membrane along the sides and top.
- Set the Z flashing above the head with a slight outward slope.
- Slide the top leg behind the house wrap.
- Fasten through the upper leg at the studs.
- Lap siding over the lower leg, keeping the shingle-fashion overlap.
Check that water can run off the ends of the flashing and away from the opening. For the full sequence, see the flashing guidance from the International Code Council on weather protection. Homeowners weighing a full exterior upgrade can also review U.S. Department of Energy guidance on moisture and air sealing before work begins.
A common mistake is skipping the kick-out flashing where a roof meets a sidewall. Without it, water pours down the wall and rots the corner.
Frequently Asked Questions
Do I need flashing at the bottom of my siding?
Yes. Flashing for siding bottom is essential because it directs incidental water away from the wall and foundation. Without it, water that gets behind the siding can soak the sheathing and cause rot. Install a metal or vinyl drip cap along the bottom edge, overlapping the foundation by at least one-half inch and sloping outward so water drains clear of the wall.
What type of flashing goes under siding?
The most common siding flashing types are metal Z flashing, flexible peel-and-stick membrane, and self-adhered waterproof membrane. Z flashing goes at horizontal transitions like where siding meets a roof or window head. Flexible flashing wraps around window and door openings. Self-adhered membrane seals corners and rough openings. Match the material to the location and always follow manufacturer instructions for overlap and fastening.
Can you add flashing without removing existing siding?
In some cases you can retrofit flashing by carefully lifting the bottom course or the siding around a penetration, sliding new flashing into place, and re-fastening. This works for localized repairs like a missing kick-out flashing or a window head. For full-wall water management or damaged house wrap, removing the siding is the only reliable fix. A professional inspection can tell you which approach your wall needs.
Water gets behind siding through small gaps, and small gaps turn into big repairs. At Faro Exterior Home Renovation, we install flashing and siding together as one water-management system, using durable siding brands like James Hardie and LP SmartSide, backed by certified craftsmanship and a free estimate. Get started with Faro Exterior Home Renovation and protect your walls before the next storm finds the weak spot.
